WindowsのVisual StudioでKINECTでPoint Cloud Library(PCL)を使えるようにしよう.
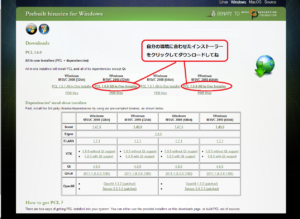
1.PCLをダウンロードする.
PCLはここにあるよ!

ダウンロードしたらインストールしておこう!
2.cmakeを入れよう.
cmakeはインクルードとかライブラリとかの設定を一発でやってくれるすごいやつだよ!
cmakeはここで落とせるよ!

cmakeもちゃんと解凍しといてね.
3.cmakeを使ってVisual Studioの設定をしていこう.
cmakeを使っての方法はPCLのサイトのdocument→tutorialにあるので詳しく知りたいときはそこにいってください.

4. cmakeをするための下準備をする.
適当なフォルダにCMakeLists.txtと動かすプログラム,main.cppをサンプルとしてファイルを入れておく.(したのはpcl公式サイトのほぼコピペ)
CMakeLists.txt
cmake_minimum_required(VERSION 2.8 FATAL_ERROR)
project(openni_grabber)
find_package(PCL 1.2 REQUIRED)
include_directories(${PCL_INCLUDE_DIRS})
link_directories(${PCL_LIBRARY_DIRS})
add_definitions(${PCL_DEFINITIONS})
add_executable (openni_grabber main.cpp)
target_link_libraries (openni_grabber ${PCL_LIBRARIES})
main.cpp
#include <pcl/io/openni_grabber.h>
#include <pcl/visualization/cloud_viewer.h>
class SimpleOpenNIViewer
{
public:
SimpleOpenNIViewer () : viewer (“PCL OpenNI Viewer”) {}
void cloud_cb_ (const pcl::PointCloud<pcl::PointXYZ>::ConstPtr &cloud)
{
if (!viewer.wasStopped())
viewer.showCloud (cloud);
}
void run ()
{
pcl::Grabber* interface = new pcl::OpenNIGrabber();
boost::function<void (const pcl::PointCloud<pcl::PointXYZ>::ConstPtr&)> f =
boost::bind (&SimpleOpenNIViewer::cloud_cb_, this, _1);
interface->registerCallback (f);
interface->start ();
while (!viewer.wasStopped())
{
boost::this_thread::sleep (boost::posix_time::seconds (1));
}
interface->stop ();
}
pcl::visualization::CloudViewer viewer;
};
int main ()
{
SimpleOpenNIViewer v;
v.run ();
return 0;
}
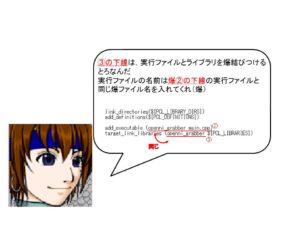
CMakeLists.txtの変えるとこは下に示しておく.


5.CMakeを使ってビルドしよう!
まず,ビルドしたソリューションファイルその他もろもろを入れるための空のフォルダを用意しておきましょう.
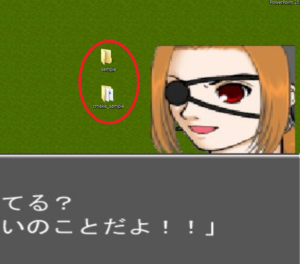
今回はcmake_sample(CMakeLists.txtとmain.cpp入り)とsample(空)というフォルダを作っておきました.

ここで,cmake-gui.exeを起動しよう.
